

Cold Brew Coffee - Recipe Monday
This week on Recipe Monday I will be sharing with you my Cold Brew coffee recipe.
Cold brew coffee is when coffee grounds are steeped in room temperature, filtered water for an extended period of time. It is then strained and stored for up to two weeks. This method of making coffee has multiple benefits as it lasts a long period of time and the coffee has a sweeter taste due to its lower acidity.
What You'll Need - Ingredients

How To Make It - Directions
 The steps to make cold brew coffee are really easy. For every cup of ground coffee you will need one litre of filtered water. If you want your coffee to have any flavour, such as vanilla or hazelnut just add a few tablespoon of your choice flavour extract. This step is completely optional but it adds a different dimension of flavour to your morning cup.
And that's it! Stick that jar on the counter with a cloth or light lid on it and wait 18+ hours. I wait about 24 hours so the cold brew coffee is a little stronger.
 After the coffee has steeped for the amount of time you want it to it's time to strain it. I strain it twice - once to get rid of the big stuff and a second time through a paper towel to get the little stuff out. It may seem silly to strain it twice but trust me once you see the paper towel covered in coffee grounds you'll appreciate the second strain.
After you strain your cold brew coffee pour it into a sealable container, such as a mason jar, and store your new coffee in the fridge.
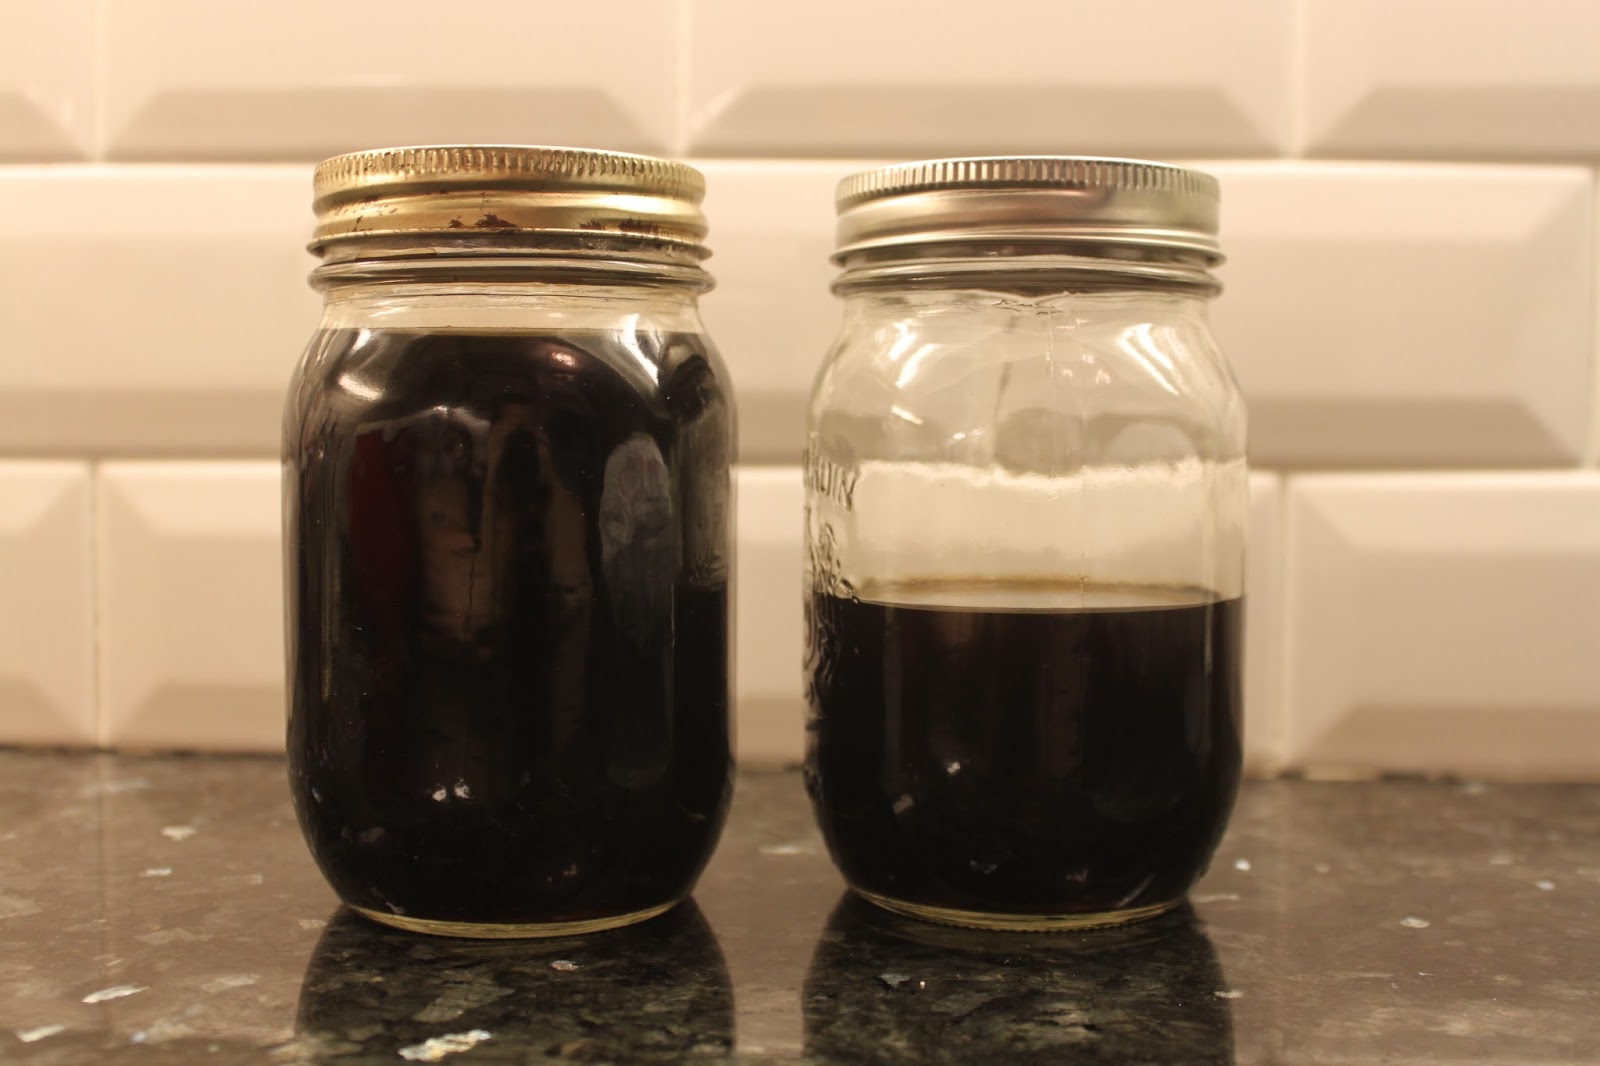 This recipe will make one and a half mason jars of cold brew coffee. You only need about 4-5 tablespoons for a cup of coffee in the morning and fill the rest of your mug with hot water. This will be the first time your coffee will come in contact with hot water and because of that you won't have the acidic taste. You may find that you don't need any cream or sugar with this since the coffee's natural sweetness will be shining through.
Now pour yourself a cup of coffee and enjoy your amazing, homemade cold brew coffee!
(And if you are looking for something to eat while drinking your morning cup of coffee, why not try some homemade donuts!)


0 comments: